Revenue tracking is the recommended setup for e-commerces operating on Shopify, as it will track exactly the revenue you have generated.
Let's go step by step:
Step 1: Make sure the SDK snippet has e-commerce enabled
During onboarding, Pathmonk provides you with a snippet that you’ll need to install on your website.
This snippet allows Pathmonk to track the behavior of your visitors and record conversion events.
Your client key will be unique, but the code initially provided by Pathmonk will look like this:
<!-- Loading Pathmonk web SDK for JavaScript -->
<script async type="text/javascript">
(function(d,key) {
    var js, si = 'pathmonk-js-sdk'; var dv, vi = 'pathmonk-root';
    if (d.getElementById(si)) return; if (d.getElementById(vi)) return;
    dv = d.createElement('div'); dv.id = vi;
    dv.style.cssText = "display:none";
    dv.setAttribute("setup", "page_plugin");
    dv.setAttribute("client_id", key);
    d.body.appendChild(dv);
    js = d.createElement('script'); js.id = si;
    js.src = 'https://pathmonk-lib.pathmonk.com/plugin/plugin.min.js';
    d.body.appendChild(js);
}(document, "YOUR_CLIENT_KEY_HERE"));
</script>
By default, the snippet does not have e-commerce tracking enabled. To enable it for Shopify revenue tracking, you’ll need to slightly modify the snippet to include the parameter: eshop="on".
Simply copy the paste below and replace "YOUR_CLIENT_KEY_HERE" with your actual client key from your Pathmonk setup screen or onboarding email.
<!-- Loading Pathmonk web SDK for JavaScript -->
<script async type="text/javascript">
(function(d,key) {
    var js, si = 'pathmonk-js-sdk'; var dv, vi = 'pathmonk-root';
    if (d.getElementById(si)) return; if (d.getElementById(vi)) return;
    dv = d.createElement('div'); dv.id = vi;
    dv.style.cssText = "display:none";
    dv.setAttribute("setup", "page_plugin");
    dv.setAttribute("eshop", "on");
    dv.setAttribute("client_id", key);
    d.body.appendChild(dv);
    js = d.createElement('script'); js.id = si;
    js.src = 'https://pathmonk-lib.pathmonk.com/plugin/plugin.min.js';
    d.body.appendChild(js);
}(document, "YOUR_CLIENT_KEY_HERE"));
</script>
Once you’ve added this snippet to your website, Pathmonk will be ready to capture Shopify revenue data. For more details on this step, check this article: Installing Pathmonk on your website.
Step 2: Install the Pathmonk Shopify app
Go to the Shopify App Store and install the official Pathmonk app. You can install it directly here.
Once installed, you will see this dashboard:
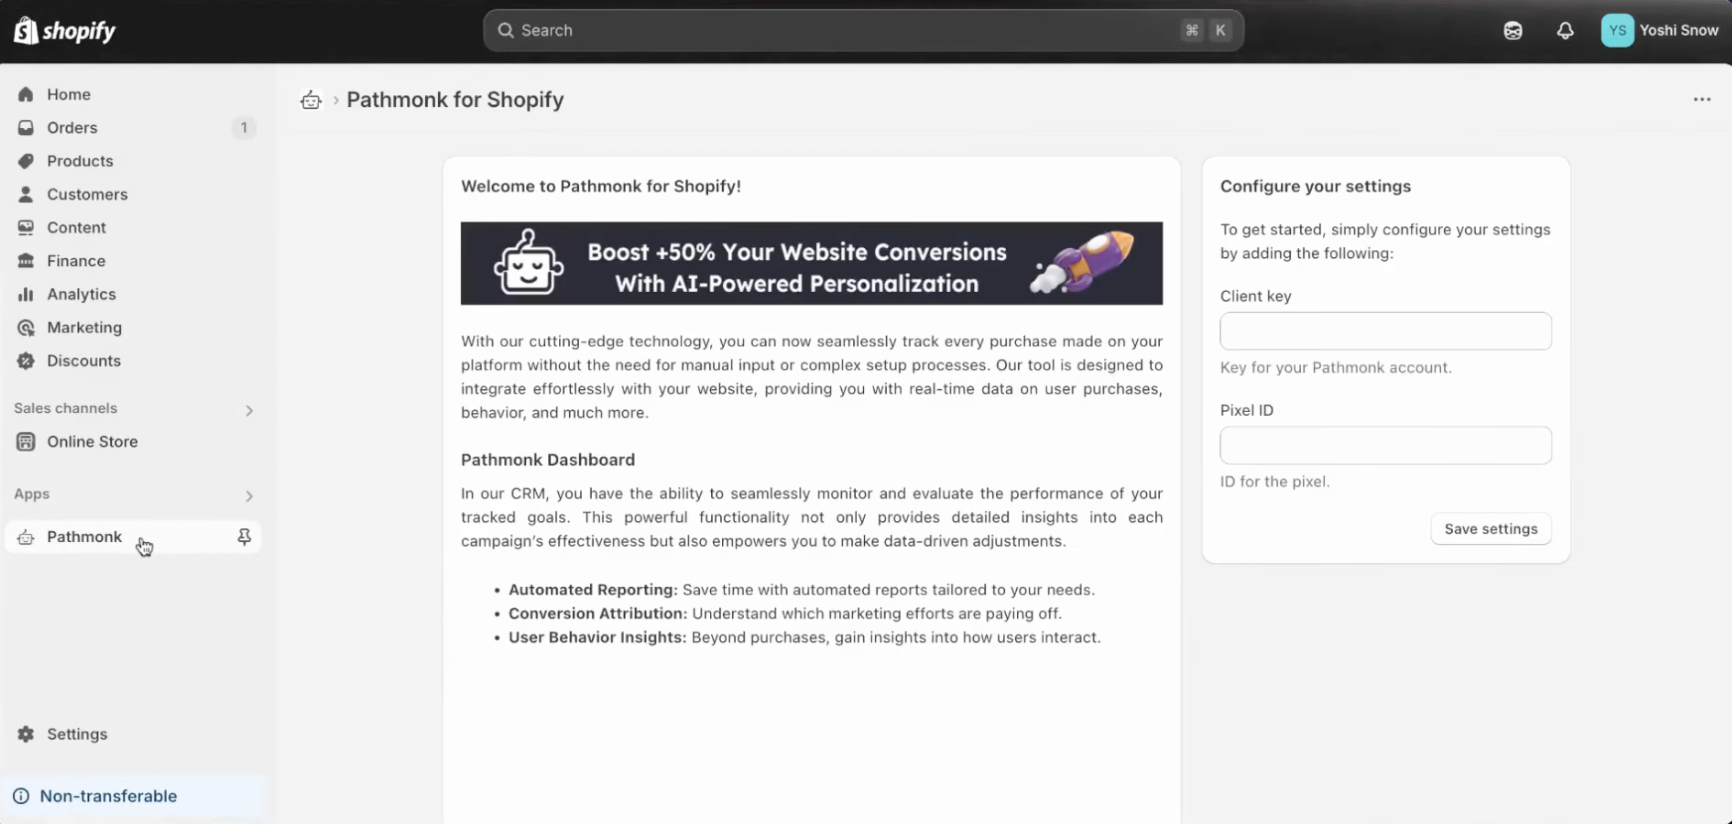
In the next steps we'll explain how to find your client key and pixel ID.
Step 3: Create a Page Load Pixel in Pathmonk
If you're completing your onboarding, in the step 4. Set up goal tracking, choose Page Pixel.
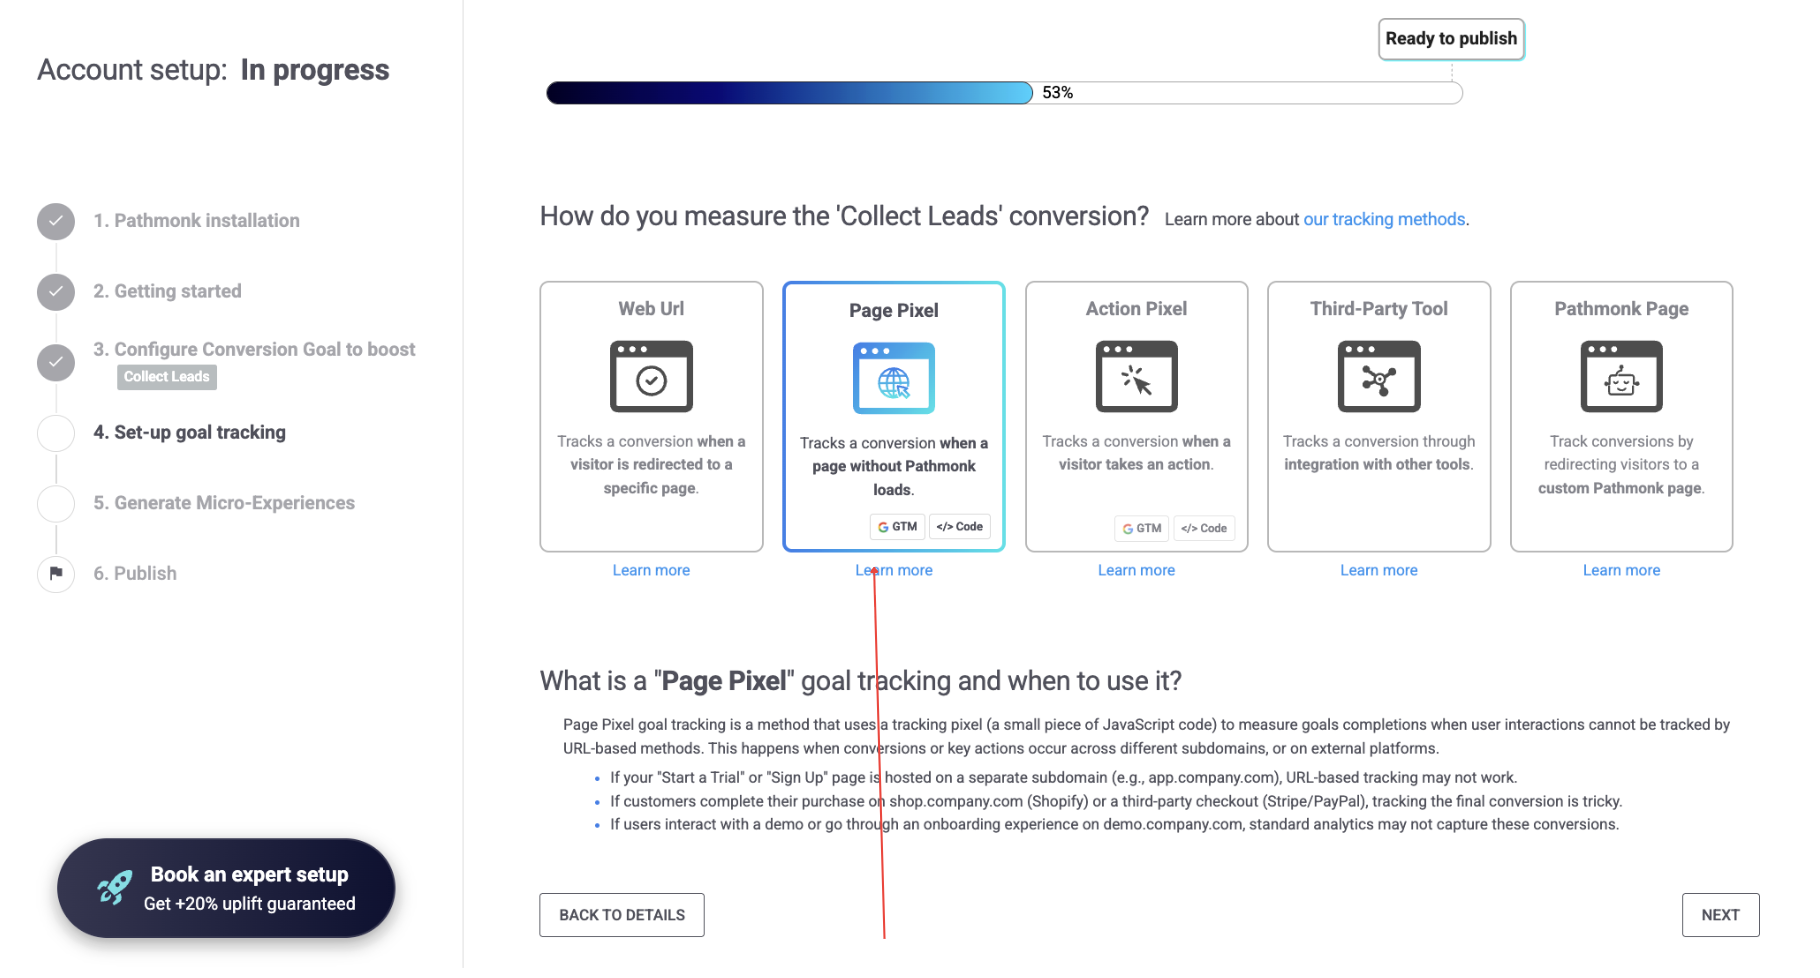
If you’ve already completed onboarding and are adding this later, go to Analytics (top menu) → Events → Overview → Create new event, and select Page Pixel, as shown in the example above.
In the next step, add a name to the conversion, like Sale, and leave the monetary value blank. Pathmonk will dynamically pull it from every purchase.
Once you click on Next, the system will generate a tracking script similar to the example below:
<!-- Pathmonk Tracking Code -->
<script type="text/javascript">
(function(d,key,id) {
var js; js = d.createElement('script');js.src = 'https://pathmonk-lib.pathmonk.com/plugin/track.min.js?client_id='+key+"&pixel_id="+id+"&new=off";d.body.appendChild(js);
}(document, "kXS9qKXu4fAO0vIZYT6cfxlZa", "02aee631-22ff-47b0-91f7-d527ef109c36"));
</script>
In this example:
kXS9qKXu4fAO0vIZYT6cfxlZa = Client key
02aee631-22ff-47b0-91f7-d527ef109c36 = Pixel ID
Step 4: Add your Client key and Pixel ID into the Shopify app
Return to the Pathmonk Shopify app and paste your Client key and Pixel ID into the corresponding fields.
Once entered, save the configuration to connect Shopify with your Pathmonk account.This ensures every purchase event is automatically sent to Pathmonk with the correct revenue amount.
Step 5: Test and confirm the setup
To make sure everything is working, perform a test purchase on your Shopify by following these steps.
Check your Pathmonk dashboard:
The conversion event should appear shortly after the test.
The event will include the revenue value from the order, confirming that tracking is active.
If the event doesn’t appear, review your setup, most issues come from missing or mismatched client keys or disabled SDK snippets.
Still need help?
If you’re not sure how to set up revenue tracking on your e-commerce, our team can help. Reach out via support@pathmonk.com and we’ll make sure Pathmonk is all set for success.
Was this article helpful?
That’s Great!
Thank you for your feedback
Sorry! We couldn't be helpful
Thank you for your feedback
Feedback sent
We appreciate your effort and will try to fix the article
